
NEW CONSTRUCTION. BEYOND THE FIXTURES.
Wellpoint Systems: Helping Construction Move Forward in Nocatee
A look at construction dewatering—and our team dismantling a system we previously installed for a future elevator shaft.
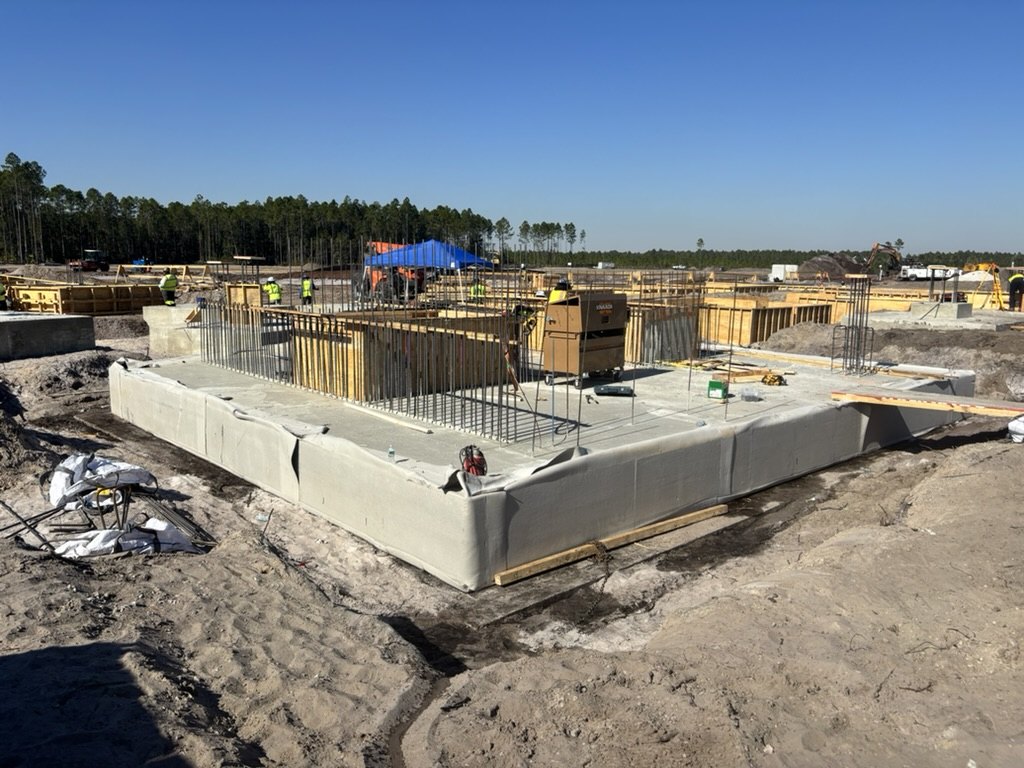
Some construction work begins with managing the water you cannot see. When an excavation reaches below the groundwater level, a wellpoint system can help lower that water level around the work area.
At a Nocatee project, Advantage Plumbing previously installed a wellpoint system for a future elevator shaft. These photos show our crew taking that system apart—a part of the job that happens after its installation and use.
What is a wellpoint system?
A wellpoint system is a temporary construction dewatering setup. Small pipes with screened ends are installed in the ground near an excavation. They connect to a larger collection pipe, called a header, and a dewatering pump. The screens admit groundwater while helping keep soil particles out; the pump draws water through the system.
The goal is to lower the groundwater level near the excavation and limit water entering the work area. Foundation excavations, utility trenches, and below-grade construction can all need groundwater control. A wellpoint system is different from a permanent household water well. Xylem explains construction wellpoint dewatering.
How installation comes together
Our installation work follows the project's dewatering plan. The layout depends on excavation depth, groundwater conditions, soil, access, and where the pumped water will go.
- Plan the layout. Coordinate the wellpoint locations, header piping, pump position, and discharge route with the construction team.
- Install the wellpoints. Set the screened points at the planned depth. Installation may use water jetting or drilled holes, depending on ground conditions.
- Connect the system. Join the wellpoints to the header and connect the header to the pump. Tight connections help maintain effective suction.
- Start and check operation. Check the connections and pumping performance, then monitor groundwater control while it is needed.
Pumped water needs an appropriate discharge arrangement, including treatment where the project requires it. System depth and capacity have limits, so the approach is chosen for each excavation. BBA Pumps describes wellpoint installation and system components.
The Nocatee project: taking the system apart
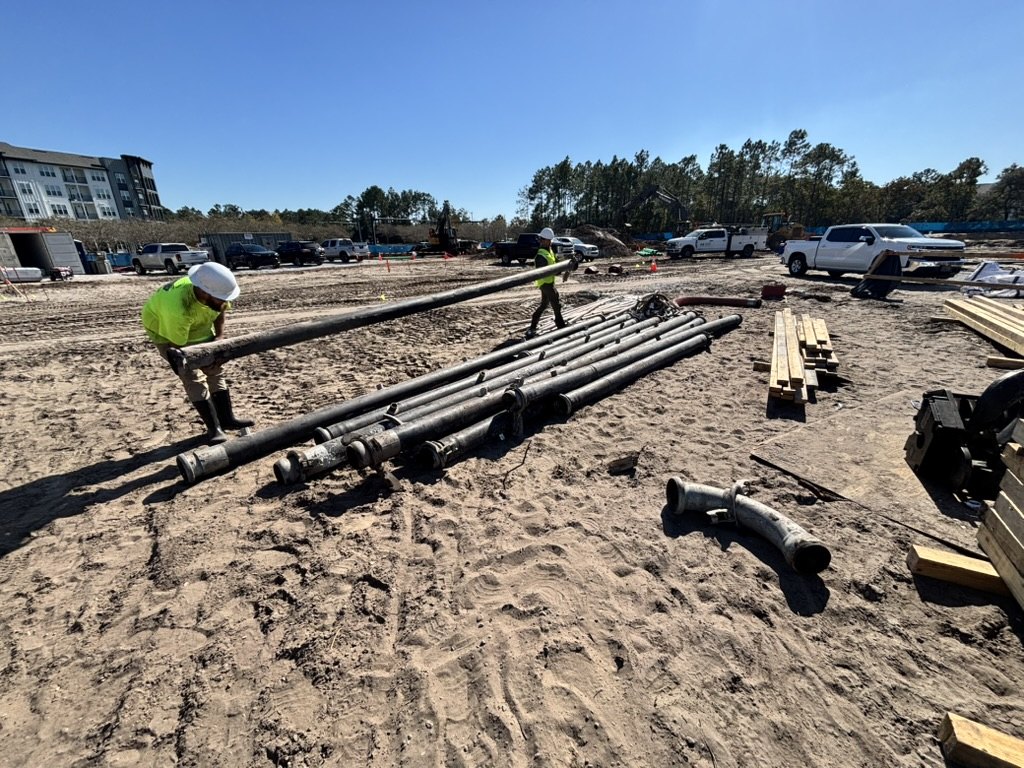
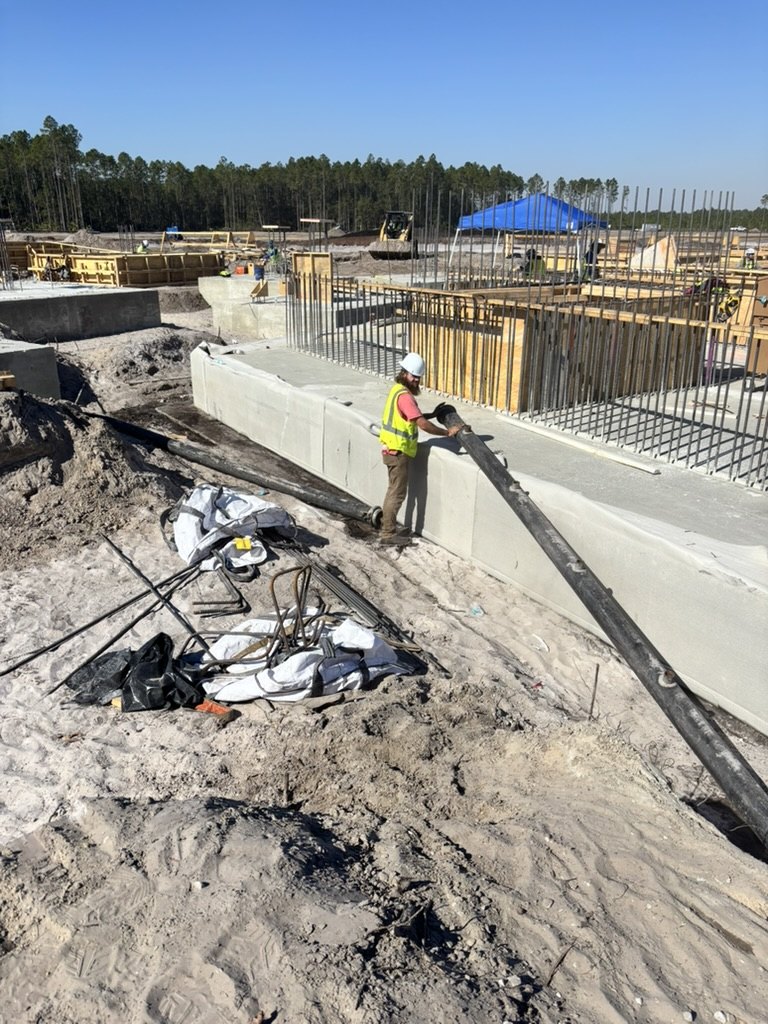
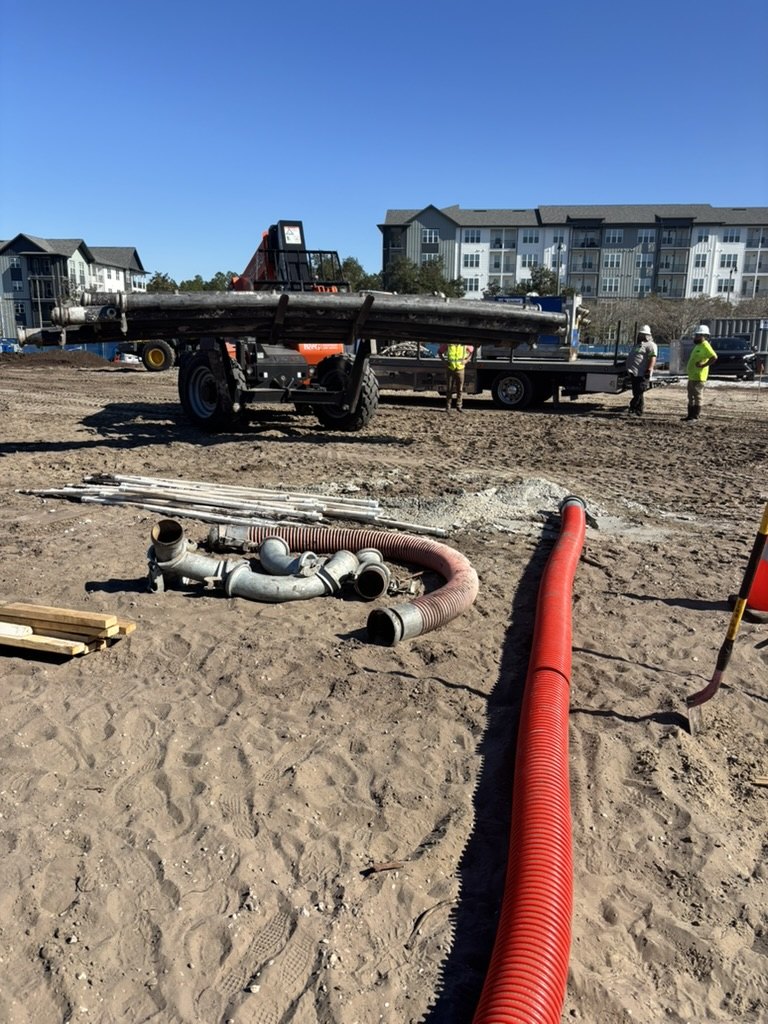
The photos here show removal, rather than the original installation. Our crew is disconnecting and gathering piping and equipment from the system we installed for the future elevator shaft. Dismantling is coordinated with the construction team's plan for when groundwater control can end.
It is one example of the work that happens beyond faucets and fixtures. We are proud to bring experienced people and field capability to larger construction projects.