FIND THE SOURCE. FIX THE PROBLEM.
Behind the Wall: A Cracked Stack Repair at a Multifamily Property
Following a hidden leak, replacing the affected piping, and getting the bathroom back into service—with the property’s maintenance team handling the sheetrock.
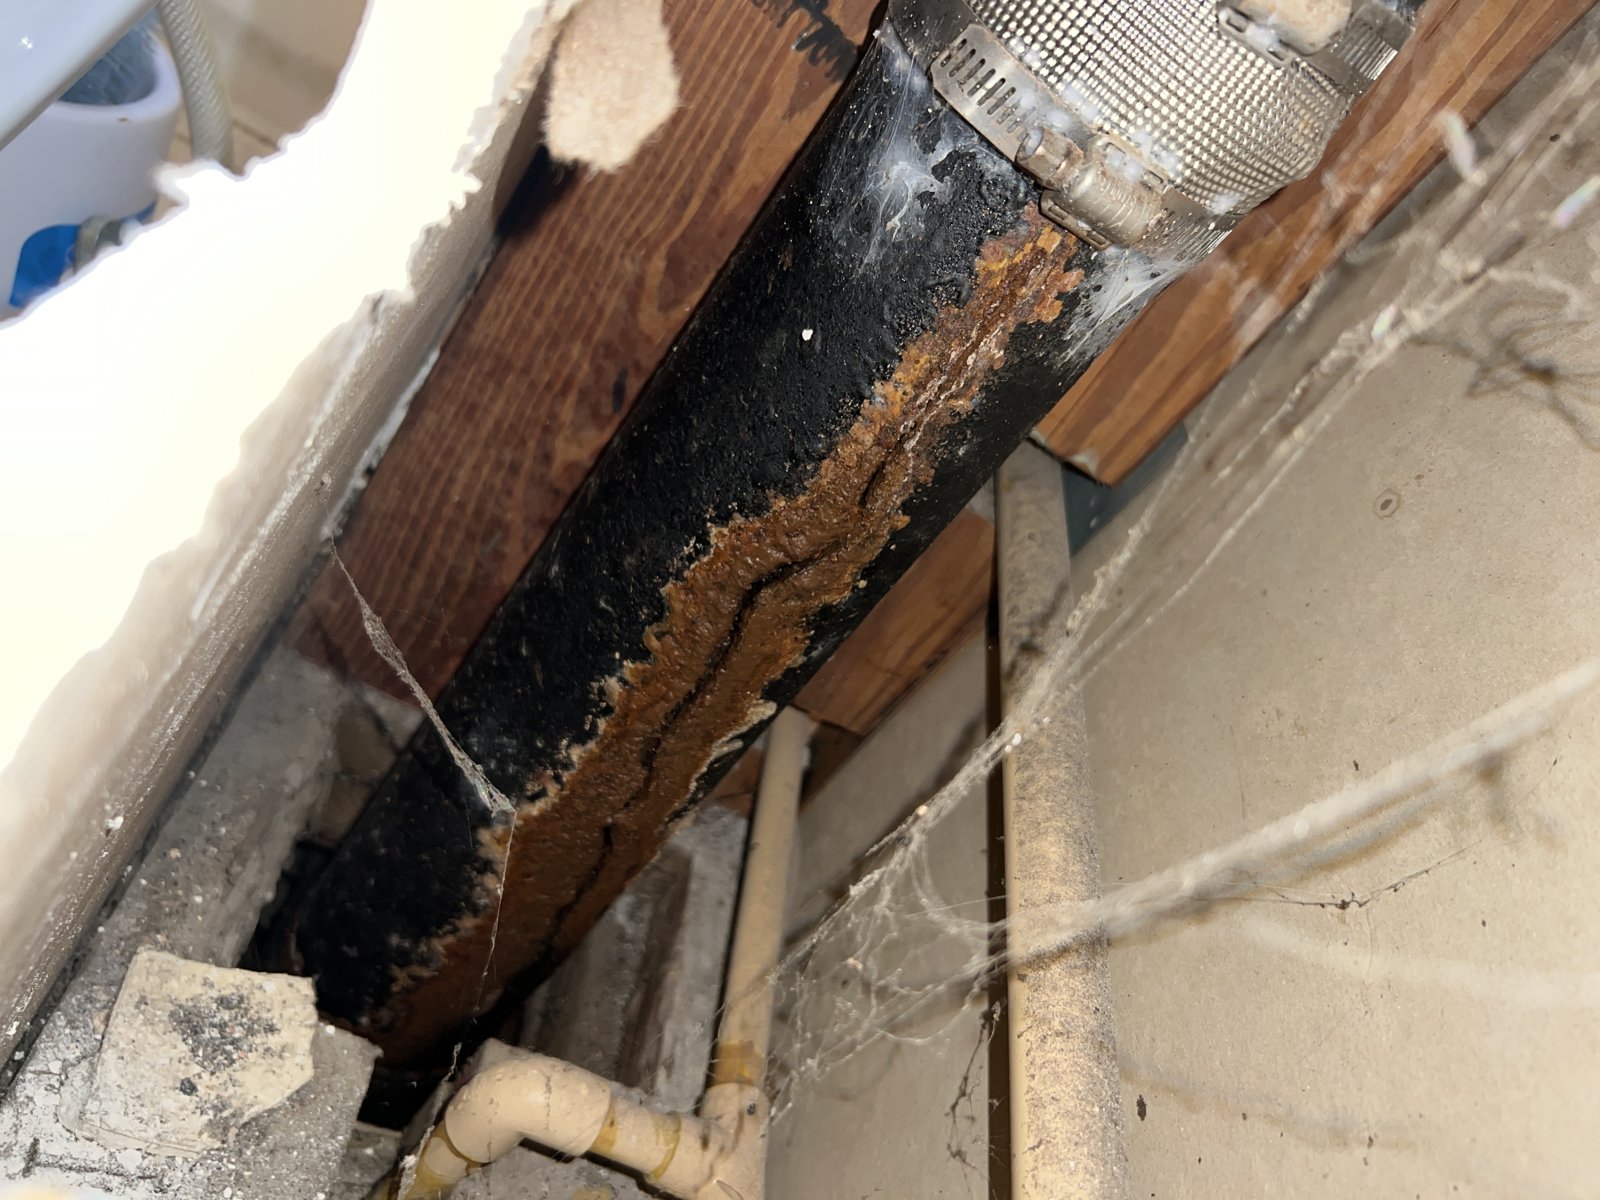
A leak beneath a stairwell was the starting point. Finding the source meant following the piping upstairs—and uncovering a cracked cast-iron stack hidden behind the bathroom wall.
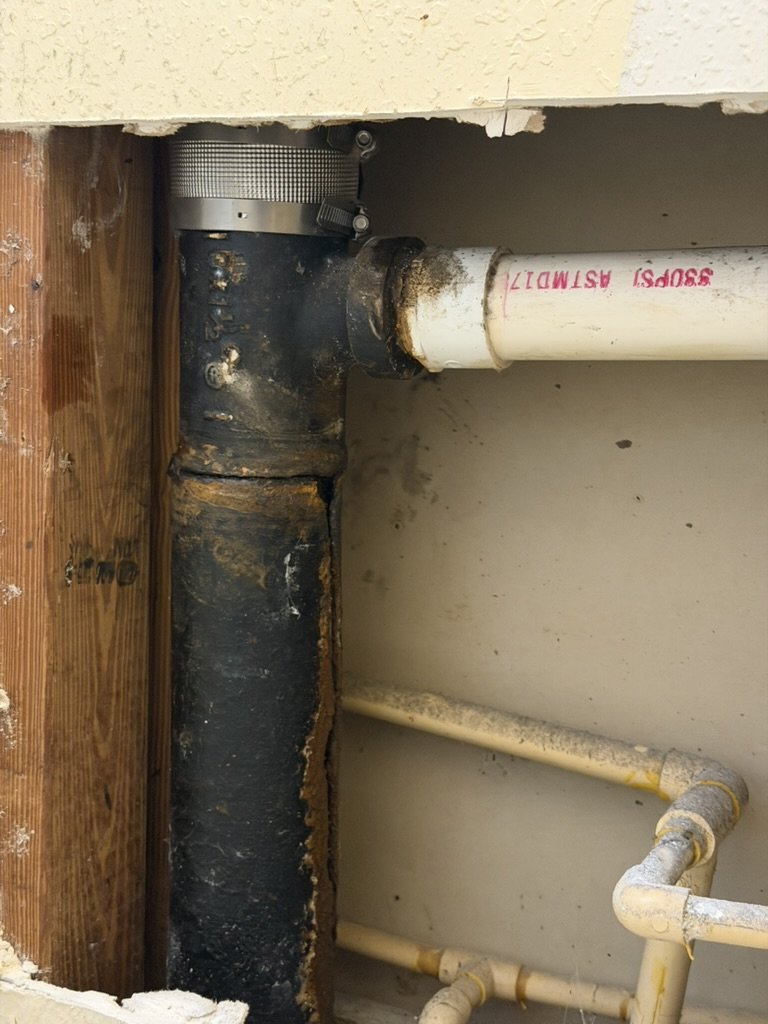
On this recent multifamily service call, the property’s maintenance team had already opened an area beneath the stairs. That gave our technician a first look at a 3-inch PVC stack running toward the second floor. But the visible section wasn’t where the investigation ended.
Following the leak higher
After running a small amount of water, our technician determined that the leak was coming from farther up the stack. We enlarged the opening to investigate, then found the piping passing through a 2-by-6 framing member where there was no access to the section we needed to inspect.
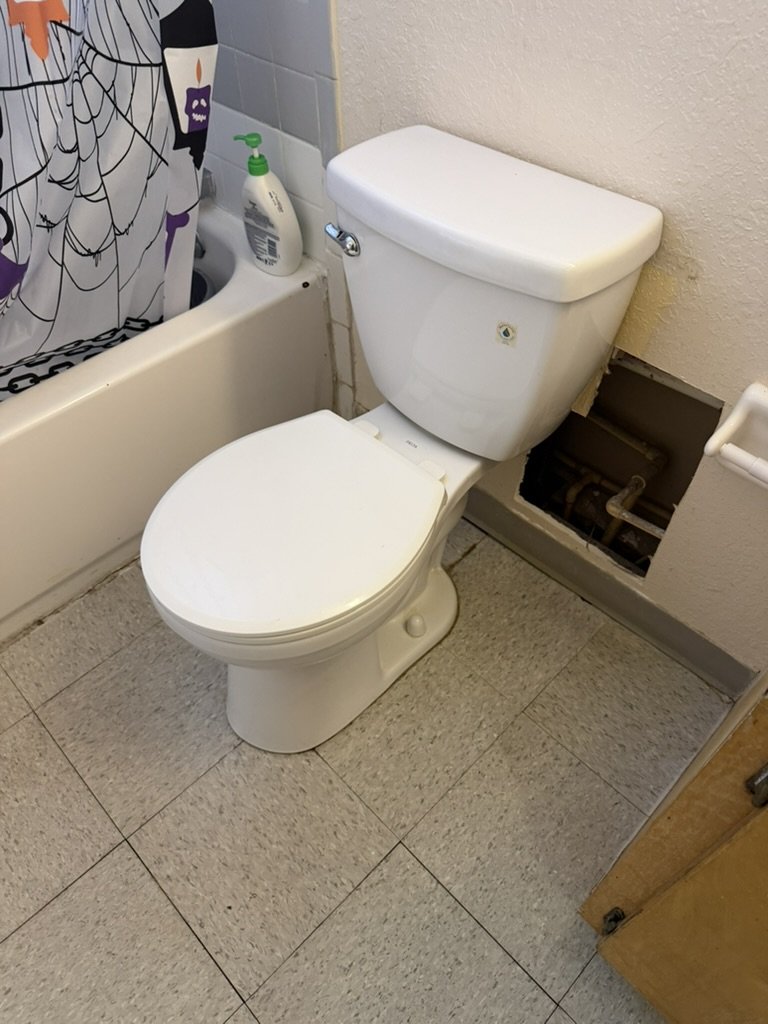
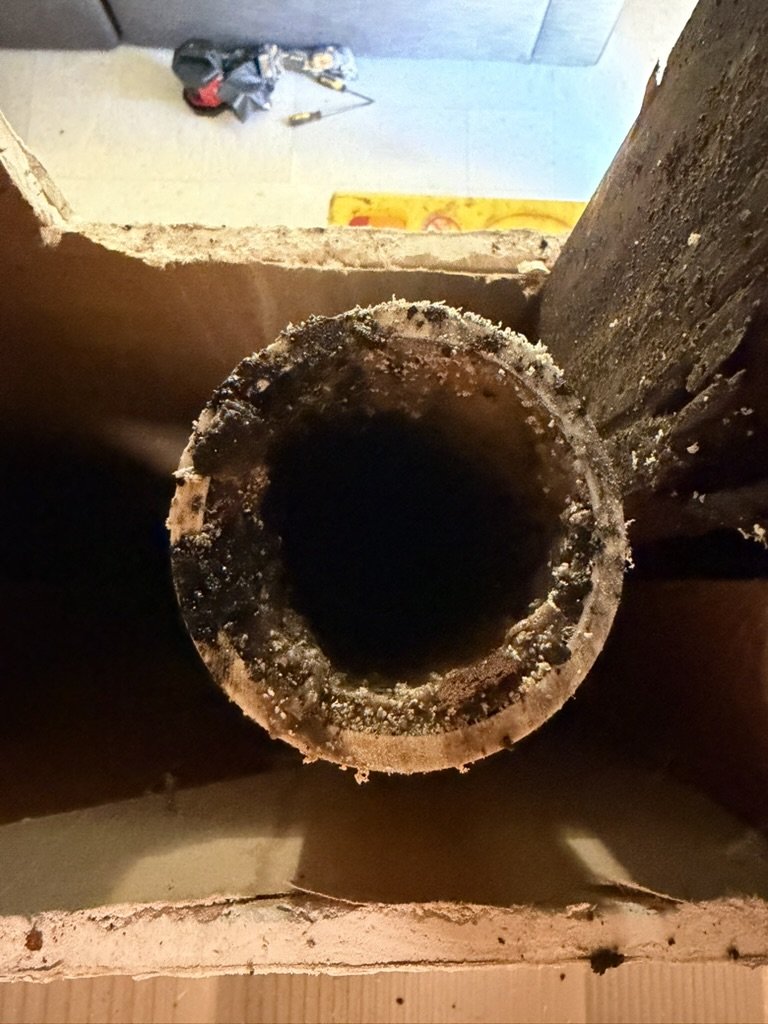
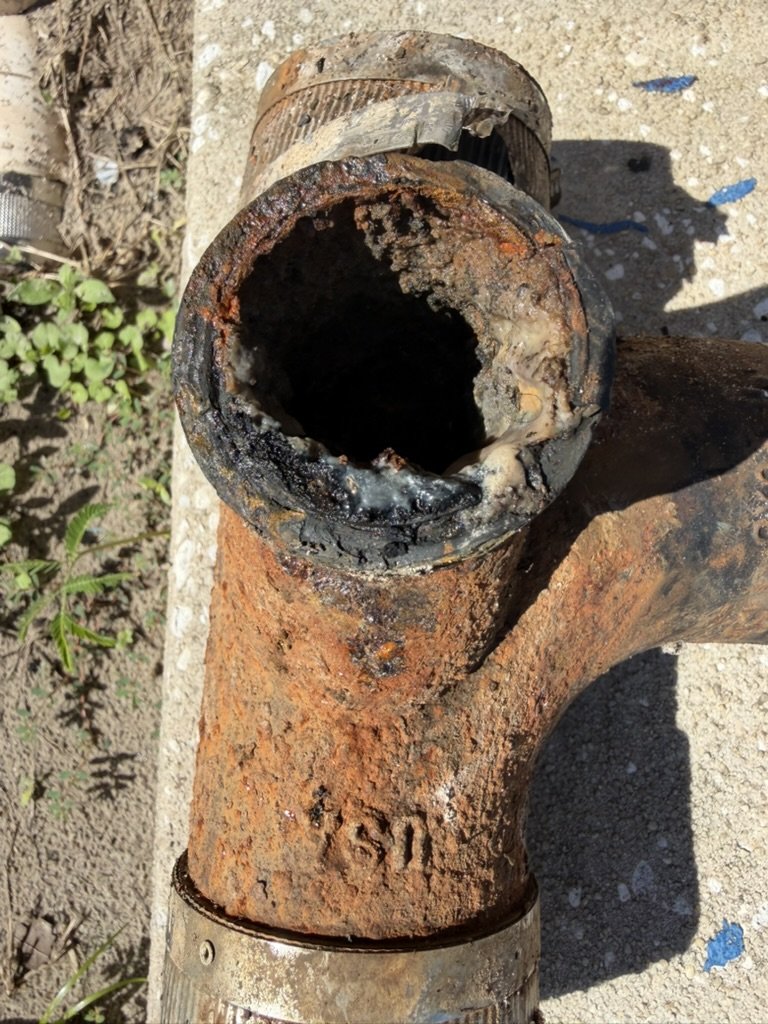
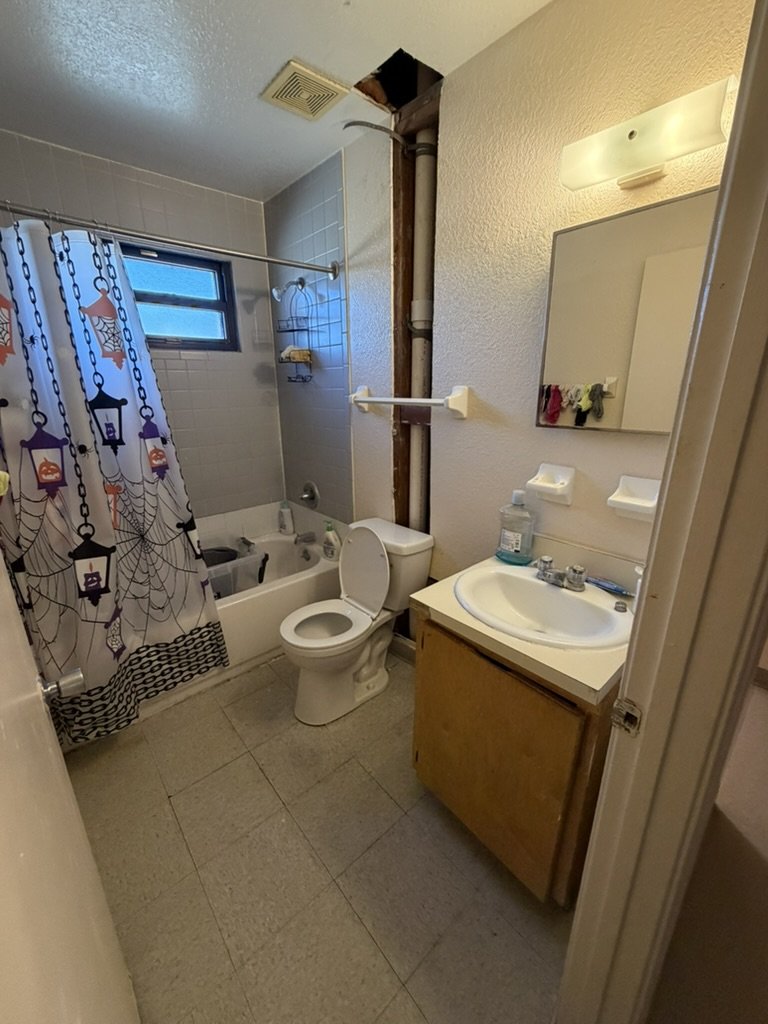
The next step was another access opening in the upstairs bathroom, behind the toilet. There, we found the source: a cracked 3-inch cast-iron stack extending down to a cast-iron sanitary tee with a side outlet serving the tub.
The job started as a possible cracked vent stack. Tracing the leak showed us which piping and fixture connections needed attention before we planned the replacement.
Opening the way for a complete replacement
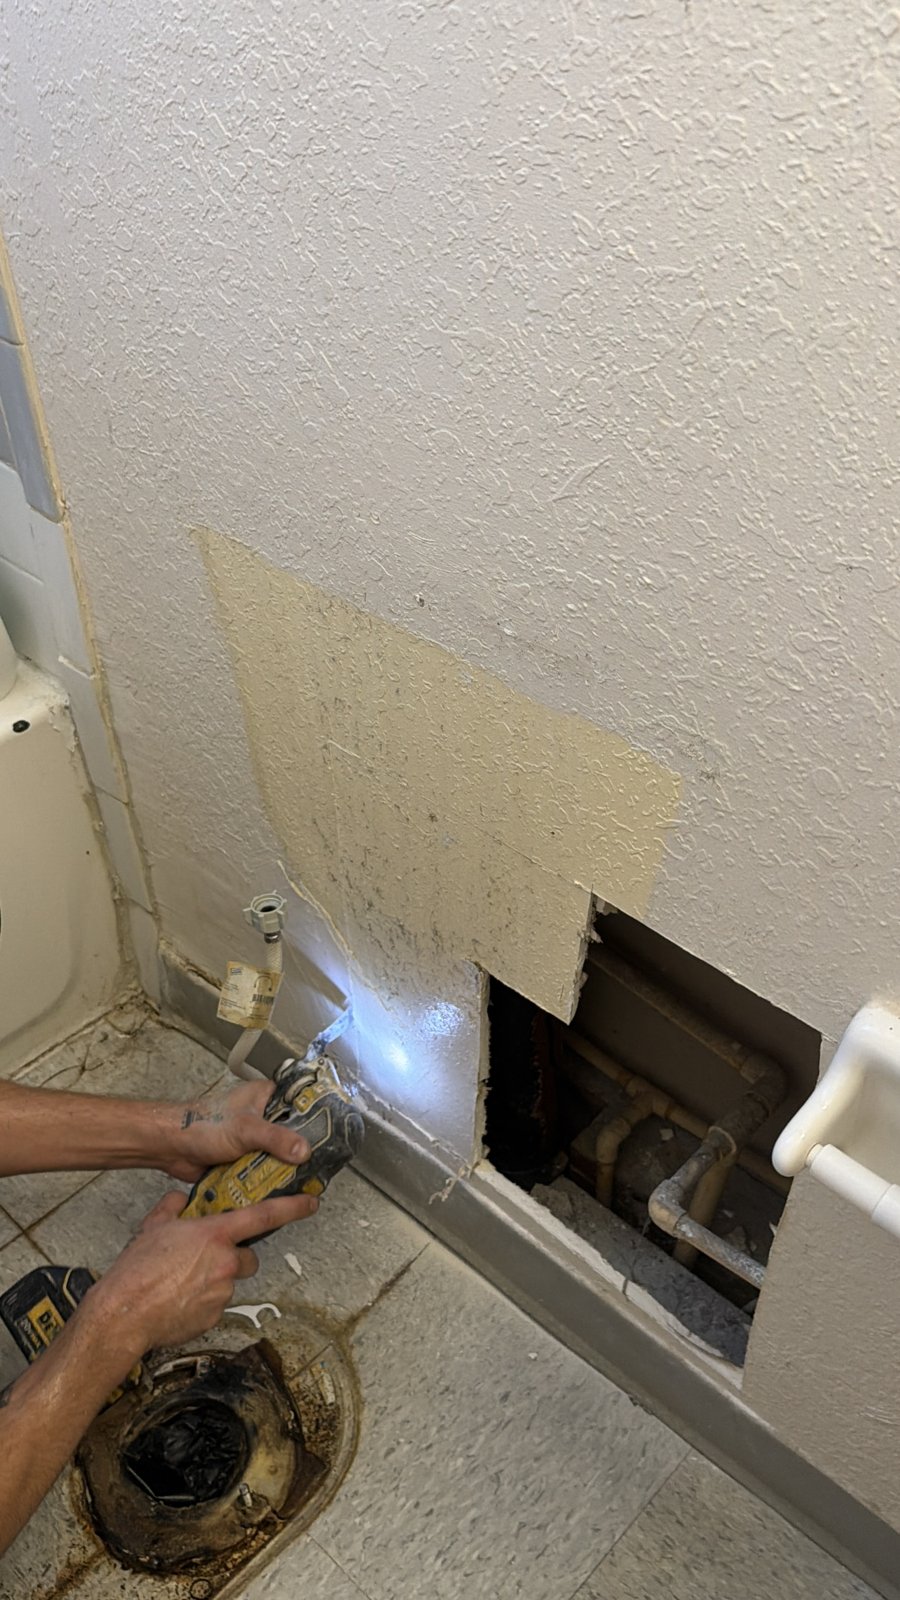
For the replacement work, our team opened sections of downstairs and upstairs walls, along with the ceiling, to expose the existing stack. Access was part of the repair: we needed to reach the piping and the connections it served.
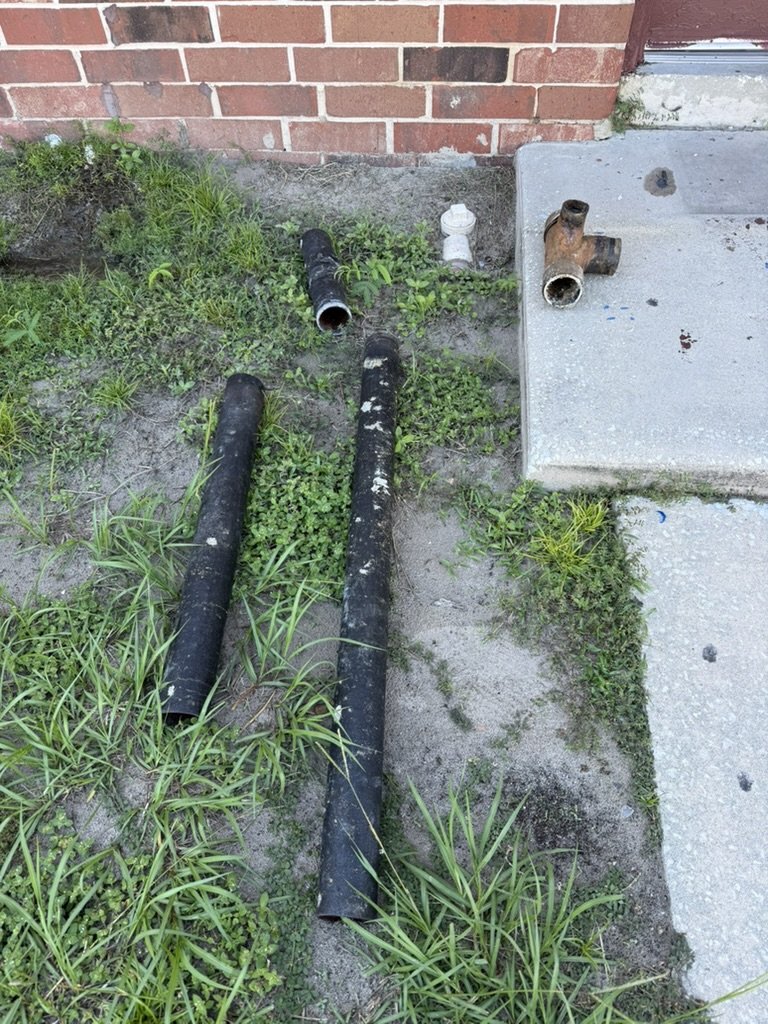
We cut out and removed the existing cast-iron piping from the connection point up to the roof, then installed new 3-inch PVC piping. At the first floor, we tied the new work back into the existing 3-inch PVC.
Reconnecting the bathroom fixtures
Replacing the vertical pipe was only part of the work. We also installed a new 3-inch by 1½-inch sanitary tee for the lavatory sink. We replaced the 3-inch PVC sanitary tee serving the toilet and used its side outlet to reconnect the bathtub and shower drain.
At the toilet, we installed a new 3-inch PVC riser and flange. We then replaced the wax ring and bolts and reset the toilet. Those fixture connections were part of getting the bathroom back into service.
Testing the plumbing—and finishing the walls
With the connections complete, we restored water service to the unit and thoroughly checked our work. At the completion of that check, there were no leaks or stoppages, and everything was functioning properly.
Advantage Plumbing completed the plumbing repair. The property’s maintenance team completed the sheetrock repairs.
A clear plan for property teams
For a multifamily property, a leak can involve more than the pipe you can see through the first opening. This job took investigation on two floors, access to the stack, replacement of the affected piping, and reconnection of the bathroom fixtures.
It also shows why the plumbing work and the finishing work need to be understood together. Our part was finding the leak, replacing the stack and connections, and checking operation. The property’s maintenance team handled the sheetrock afterward.